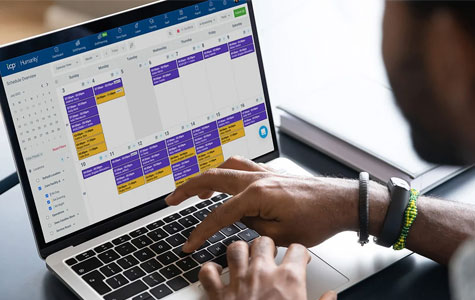
Get time right, every time
Automated time and attendance tracking software for better bottom lines and happier teams.
Time tracking is complicated. Your software shouldn’t be.
TimeClock Plus saves you time, reduces costly errors, and makes work life easier for your employees and managers. It’s a win-win-win.
Collect time from anywhere
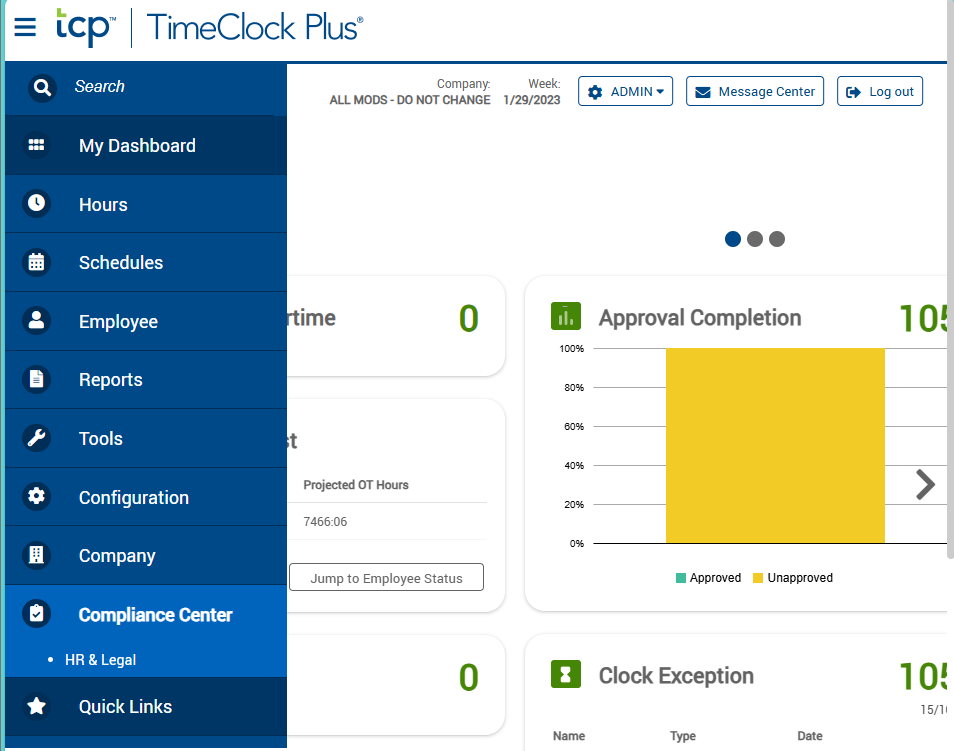
Capture time and payroll data across locations, including punches, employee details, contracts, and rules.
Track and manage employee hours
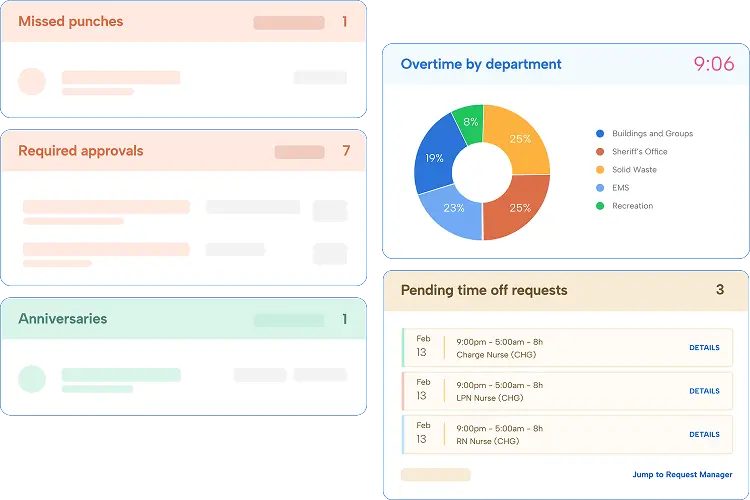
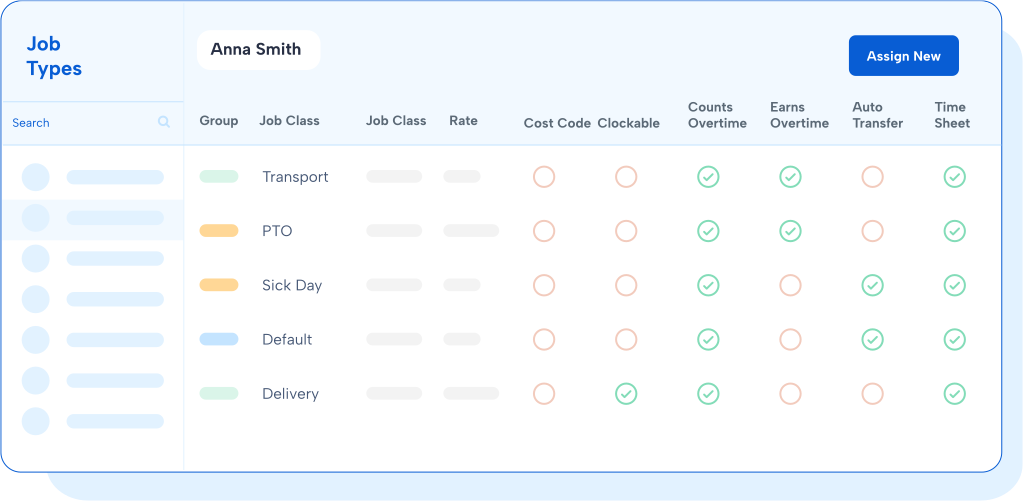
Manage hours worked, breaks, leave requests, exceptions, accruals, overtime, job codes, pay rates, and more.
Deliver the perfect paycheck
Automate complex payroll complications for precise payroll in a fraction of the time.
Time keeping software
Track time your way
Avoid payroll mistakes and control labor costs with accurate, automated time tracking software that handles even the most complex pay rules, compliance policies, and workforces.
Learn about time tracking with TimeClock Plus
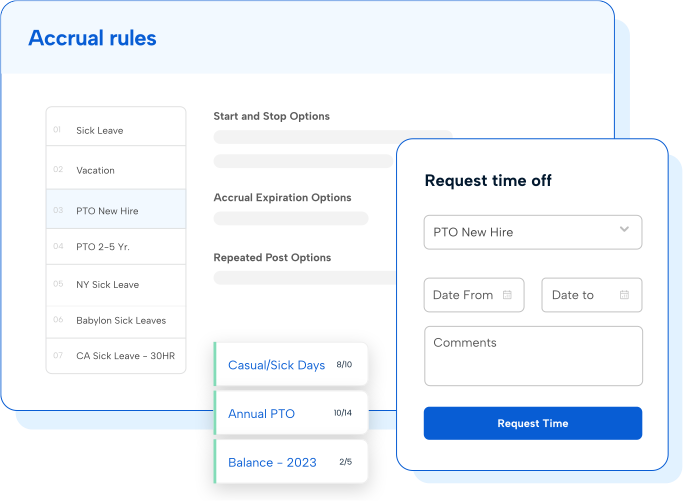
Leave & accrual management
Easier leave management for everyone
From PTO and FMLA to holiday and sick time, TimeClock Plus makes it easy for employees to request time off and for managers to review.
Explore leave and accrual management
Resource management
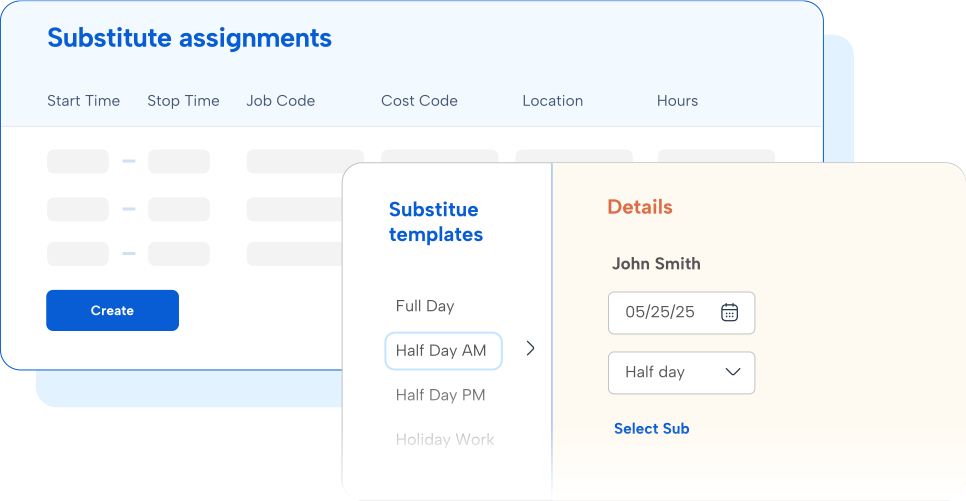
Every hour, all in one spot
Bring time and attendance, absence management, and extra duty tracking into one solution for K-12 resource management loved by teachers, admins, and subs alike.
Learn more about resource management for schools
Time clock hardware
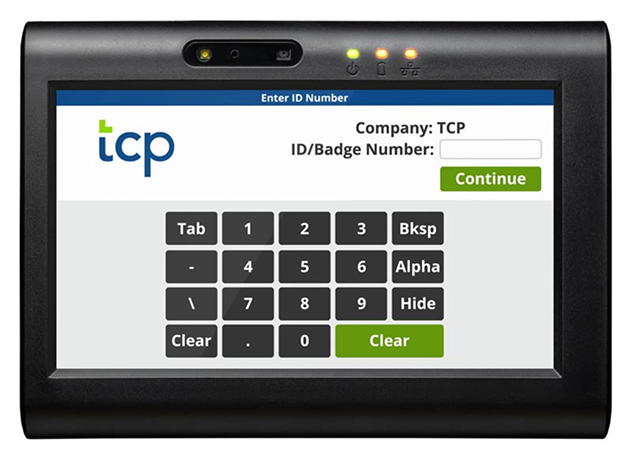
Made-for-you time clocks
Whether you need on-site, mobile, or web clocks, pick the clocks that fit and confidently track employee hours with ‘mix and match’ time collection devices.
See which time clocks are right for you
Integrations
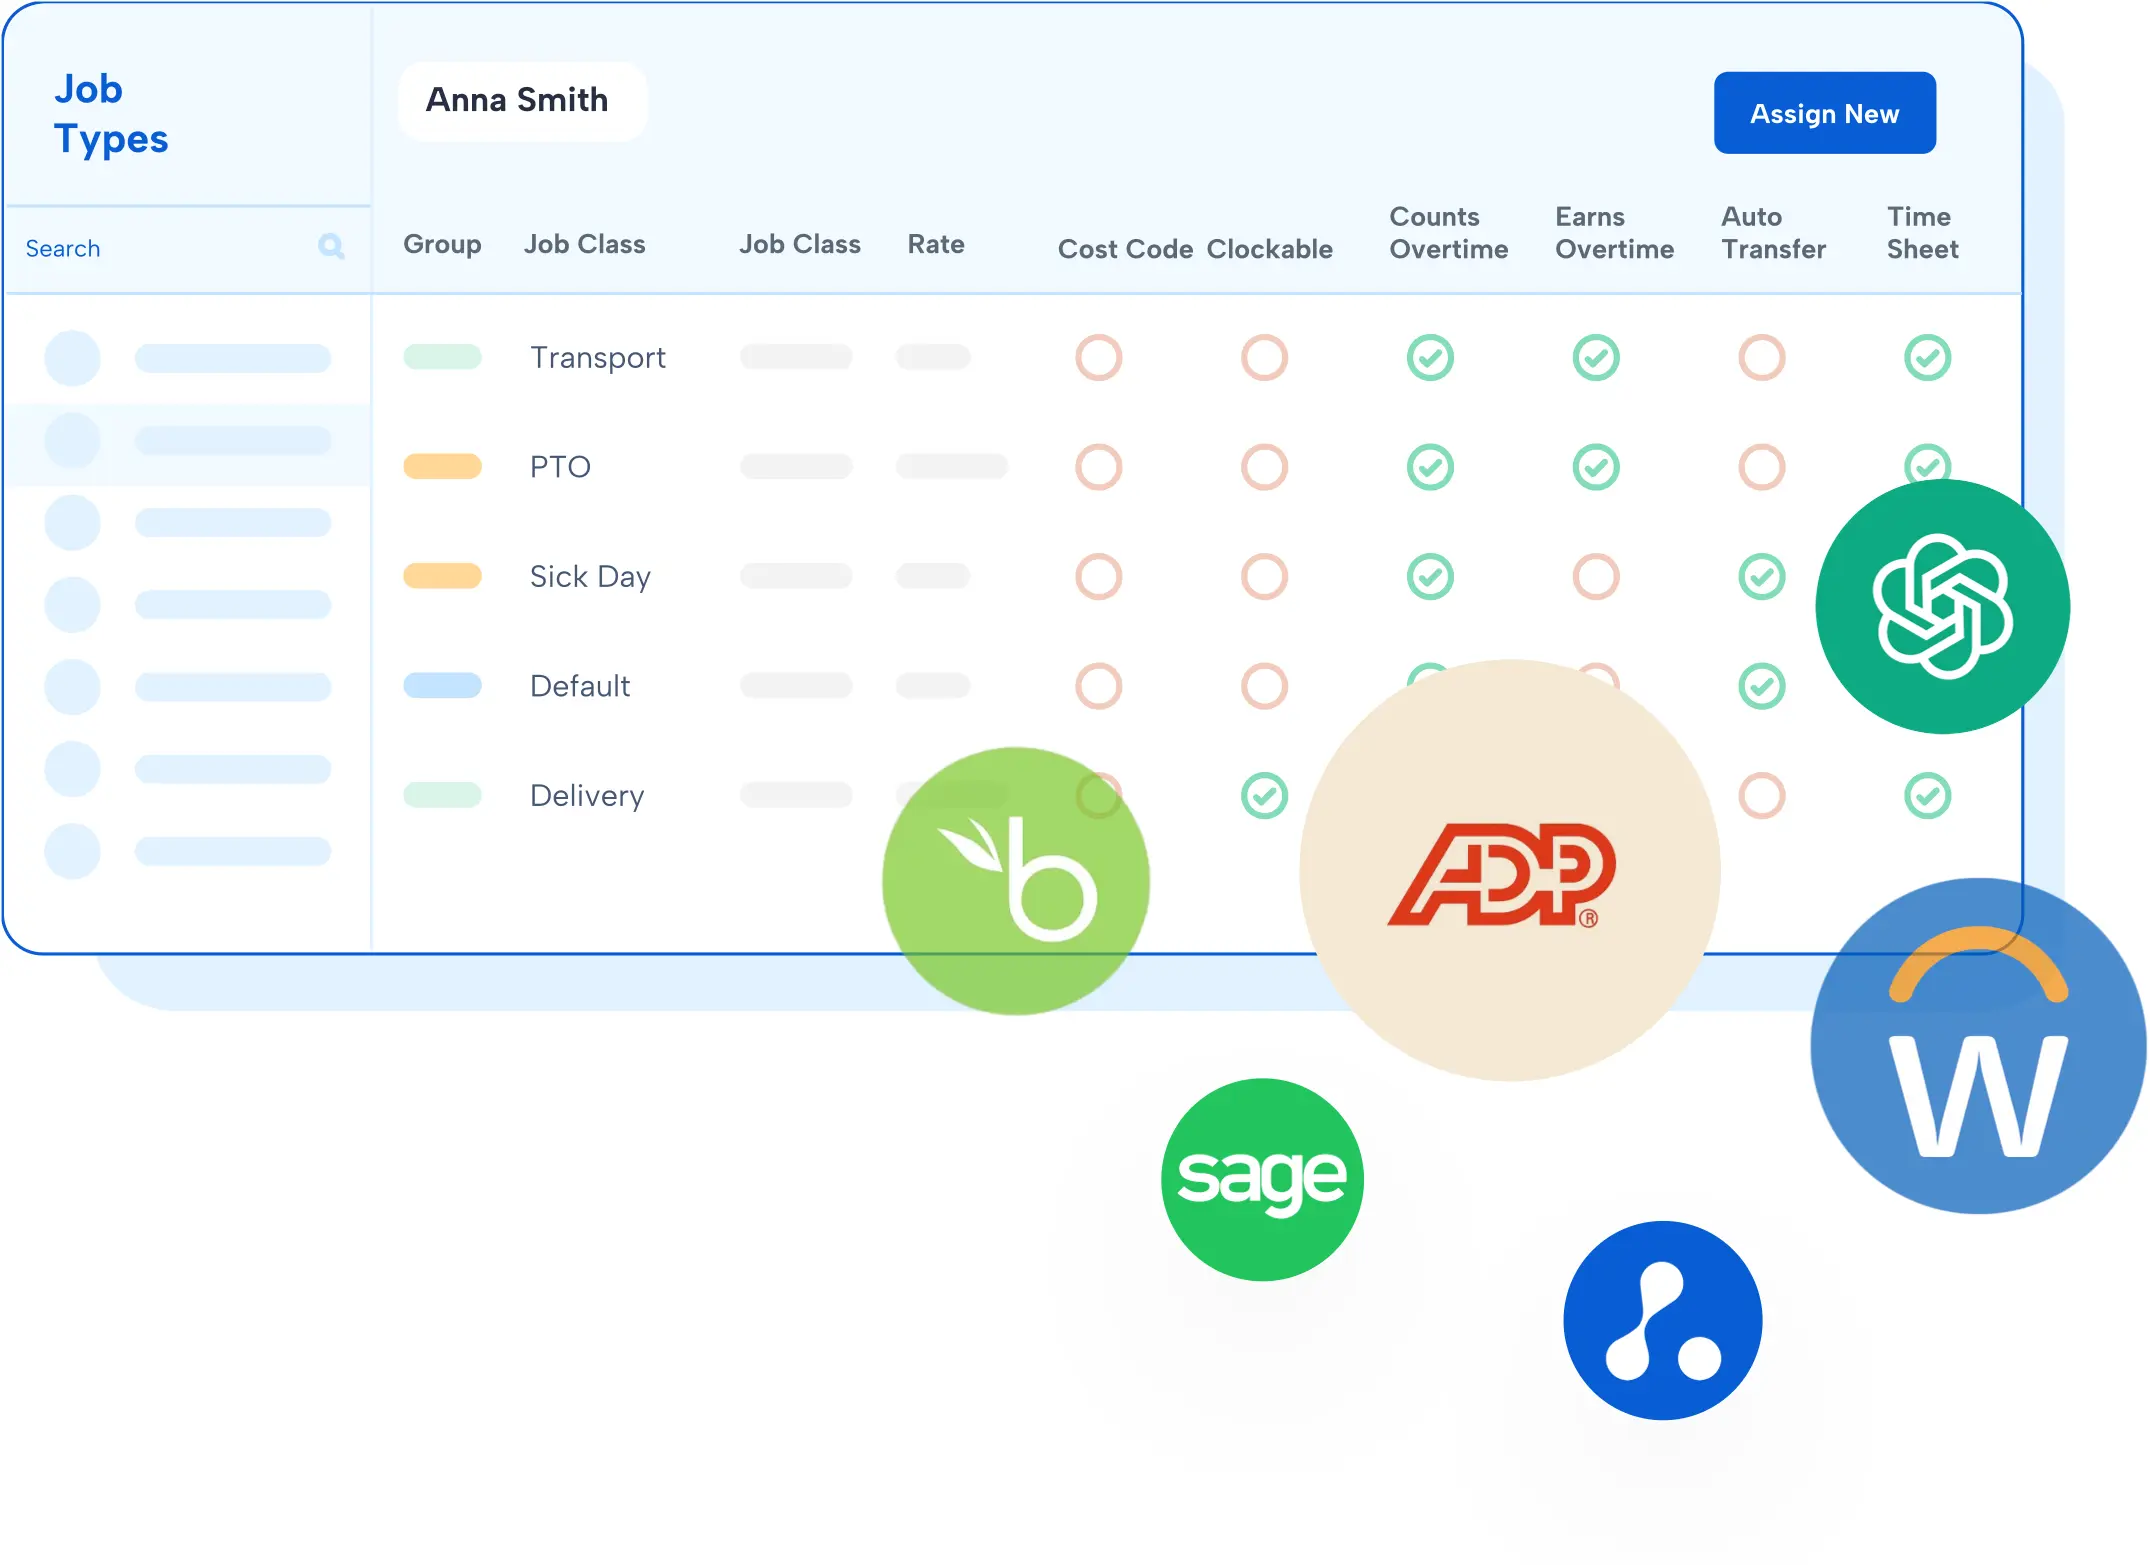
Connect with your existing systems
From major providers to custom setups, we play nicely with the payroll and HR systems you already use. Looking for multiple TCP solutions? We connect those too.
Explore our integrations

Enterprise
IndustryK-12 education
See how Pasco County School District manages labor costs and FLSA compliance with TimeClock Plus
Read their success story
