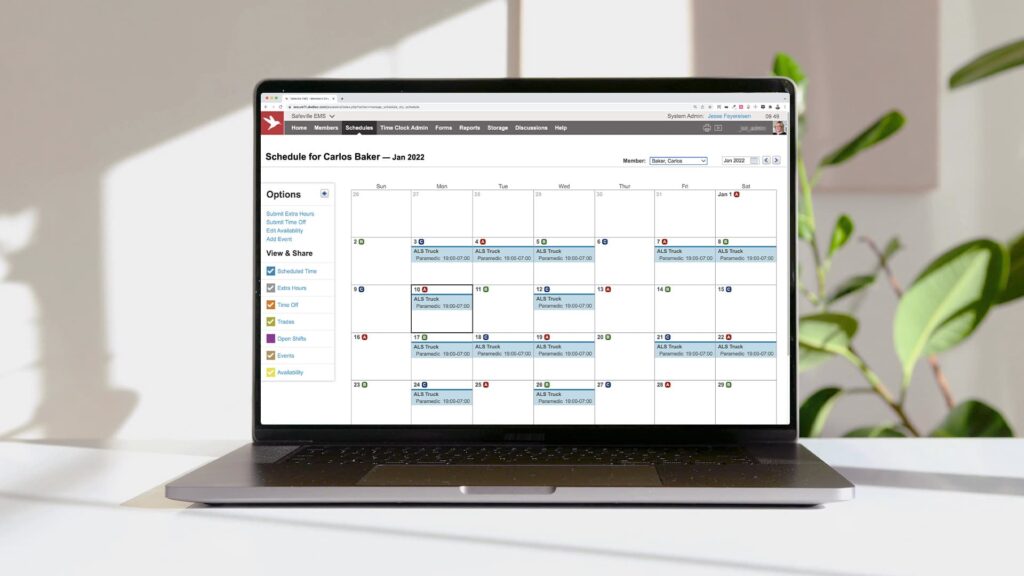
Dynamic employee scheduling software for your entire team
Automate shift planning, close coverage gaps, and manage compliance with Humanity Schedule.
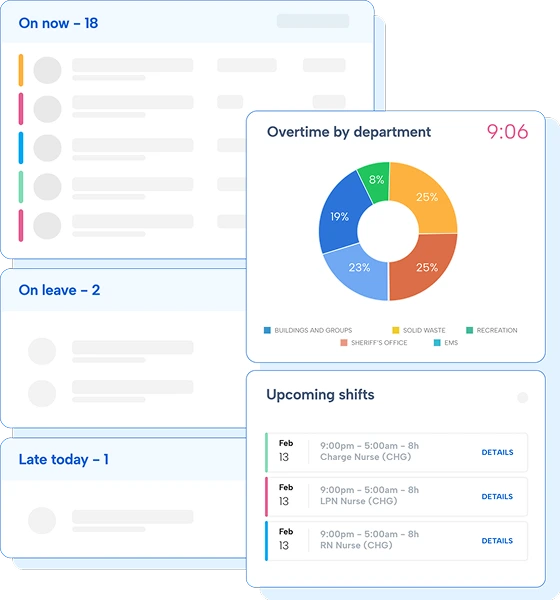
Bring some humanity to your employee scheduling
Deliver a flexible approach to employee scheduling, no matter where your teams work or what device they use. Humanity Schedule automates dynamic scheduling and shift planning to eliminate staffing errors, optimize labor costs, and create a stress-free experience for both managers and employees.
Plan ahead
Use Humanity Schedule’s AI capabilities to forecast demand, auto-build compliant schedules, and fill shifts with available, qualified staff.
Communicate changes
Enable managers and team leaders to communicate shift and employee scheduling updates as they occur via email, mobile app, and SMS notifications.
Empower your workforce
Increase scheduling visibility for employees across their mobile devices, making it easy to request time off, release shifts, and adjust availability.
Shift planning
Reduce scheduling friction and staff confusion
Simplify schedule building, shift management, and employee communication with flexible and interactive employee scheduling – no more spreadsheets!
Learn more about shift planning
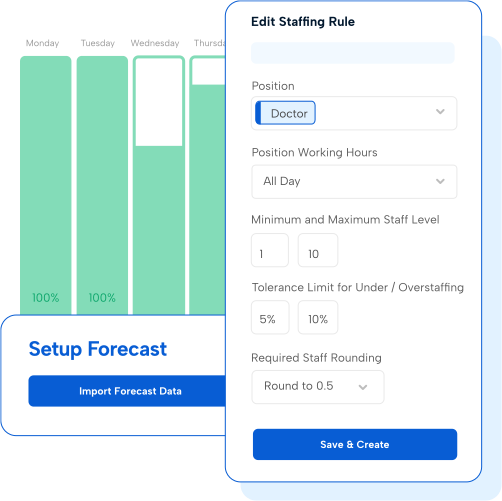
Demand Scheduler
Confidently predict coverage demand
Use AI forecasting to schedule weeks and months in advance, accelerating planning processes like never before.
Explore demand forecasting
Labor costs & budget management
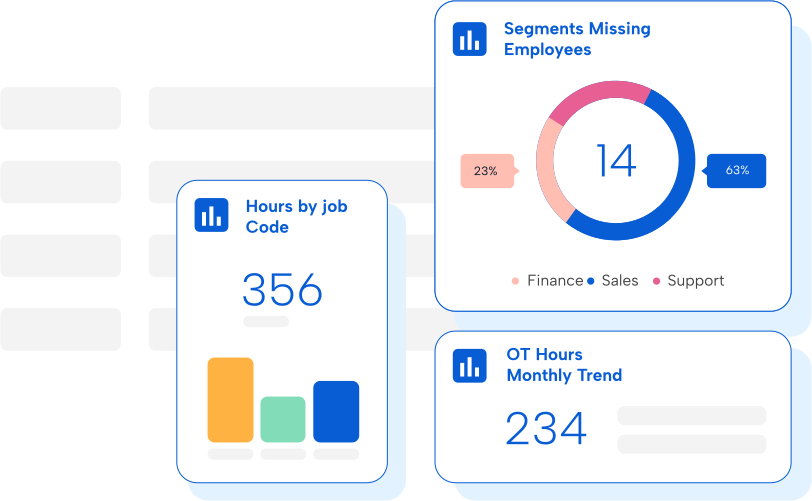
Turn disorganized data into actionable insights for better cost control
Humanity Schedule gives you powerful insights into how employee scheduling impacts budgeting, labor costs, and workforce performance. Pull reports or make real-time schedule adjustments based on your needs.
Learn about controlling labor costs
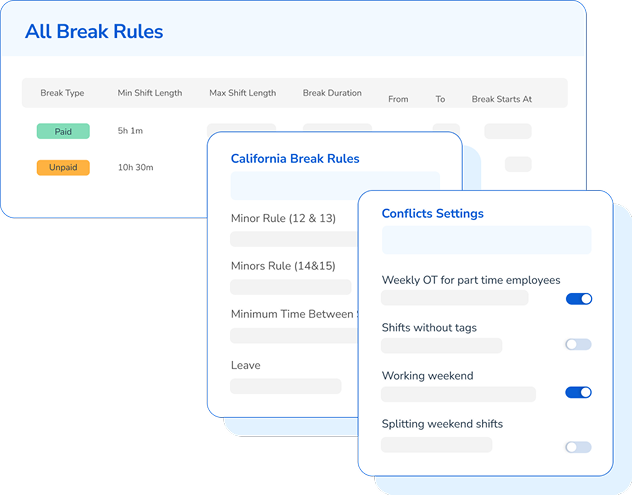
Compliance management
Mitigate compliance risk and reduce scheduling conflicts
Ensure adherence across labor laws, internal policies, and collective bargaining agreements with customizable scheduling rules and conflict monitoring.
See how Humanity Schedule keeps compliance simple
Mobile app
Access employee schedules anytime and anywhere
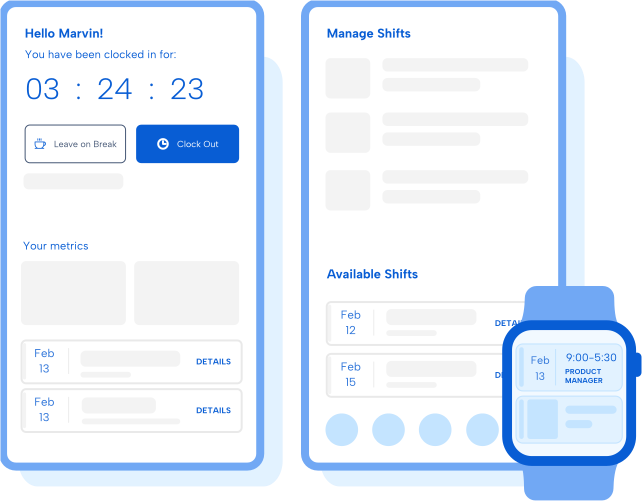
Boost schedule visibility and improve employee engagement with a mobile app that’s also compatible with Apple Watch. Managers can post open shifts and approve requests, while employees view the latest schedule, receive shift reminders, trade shifts, and request time off, all at their fingertips.
Check out the Humanity Schedule mobile app
Integrations
Unify your workforce systems
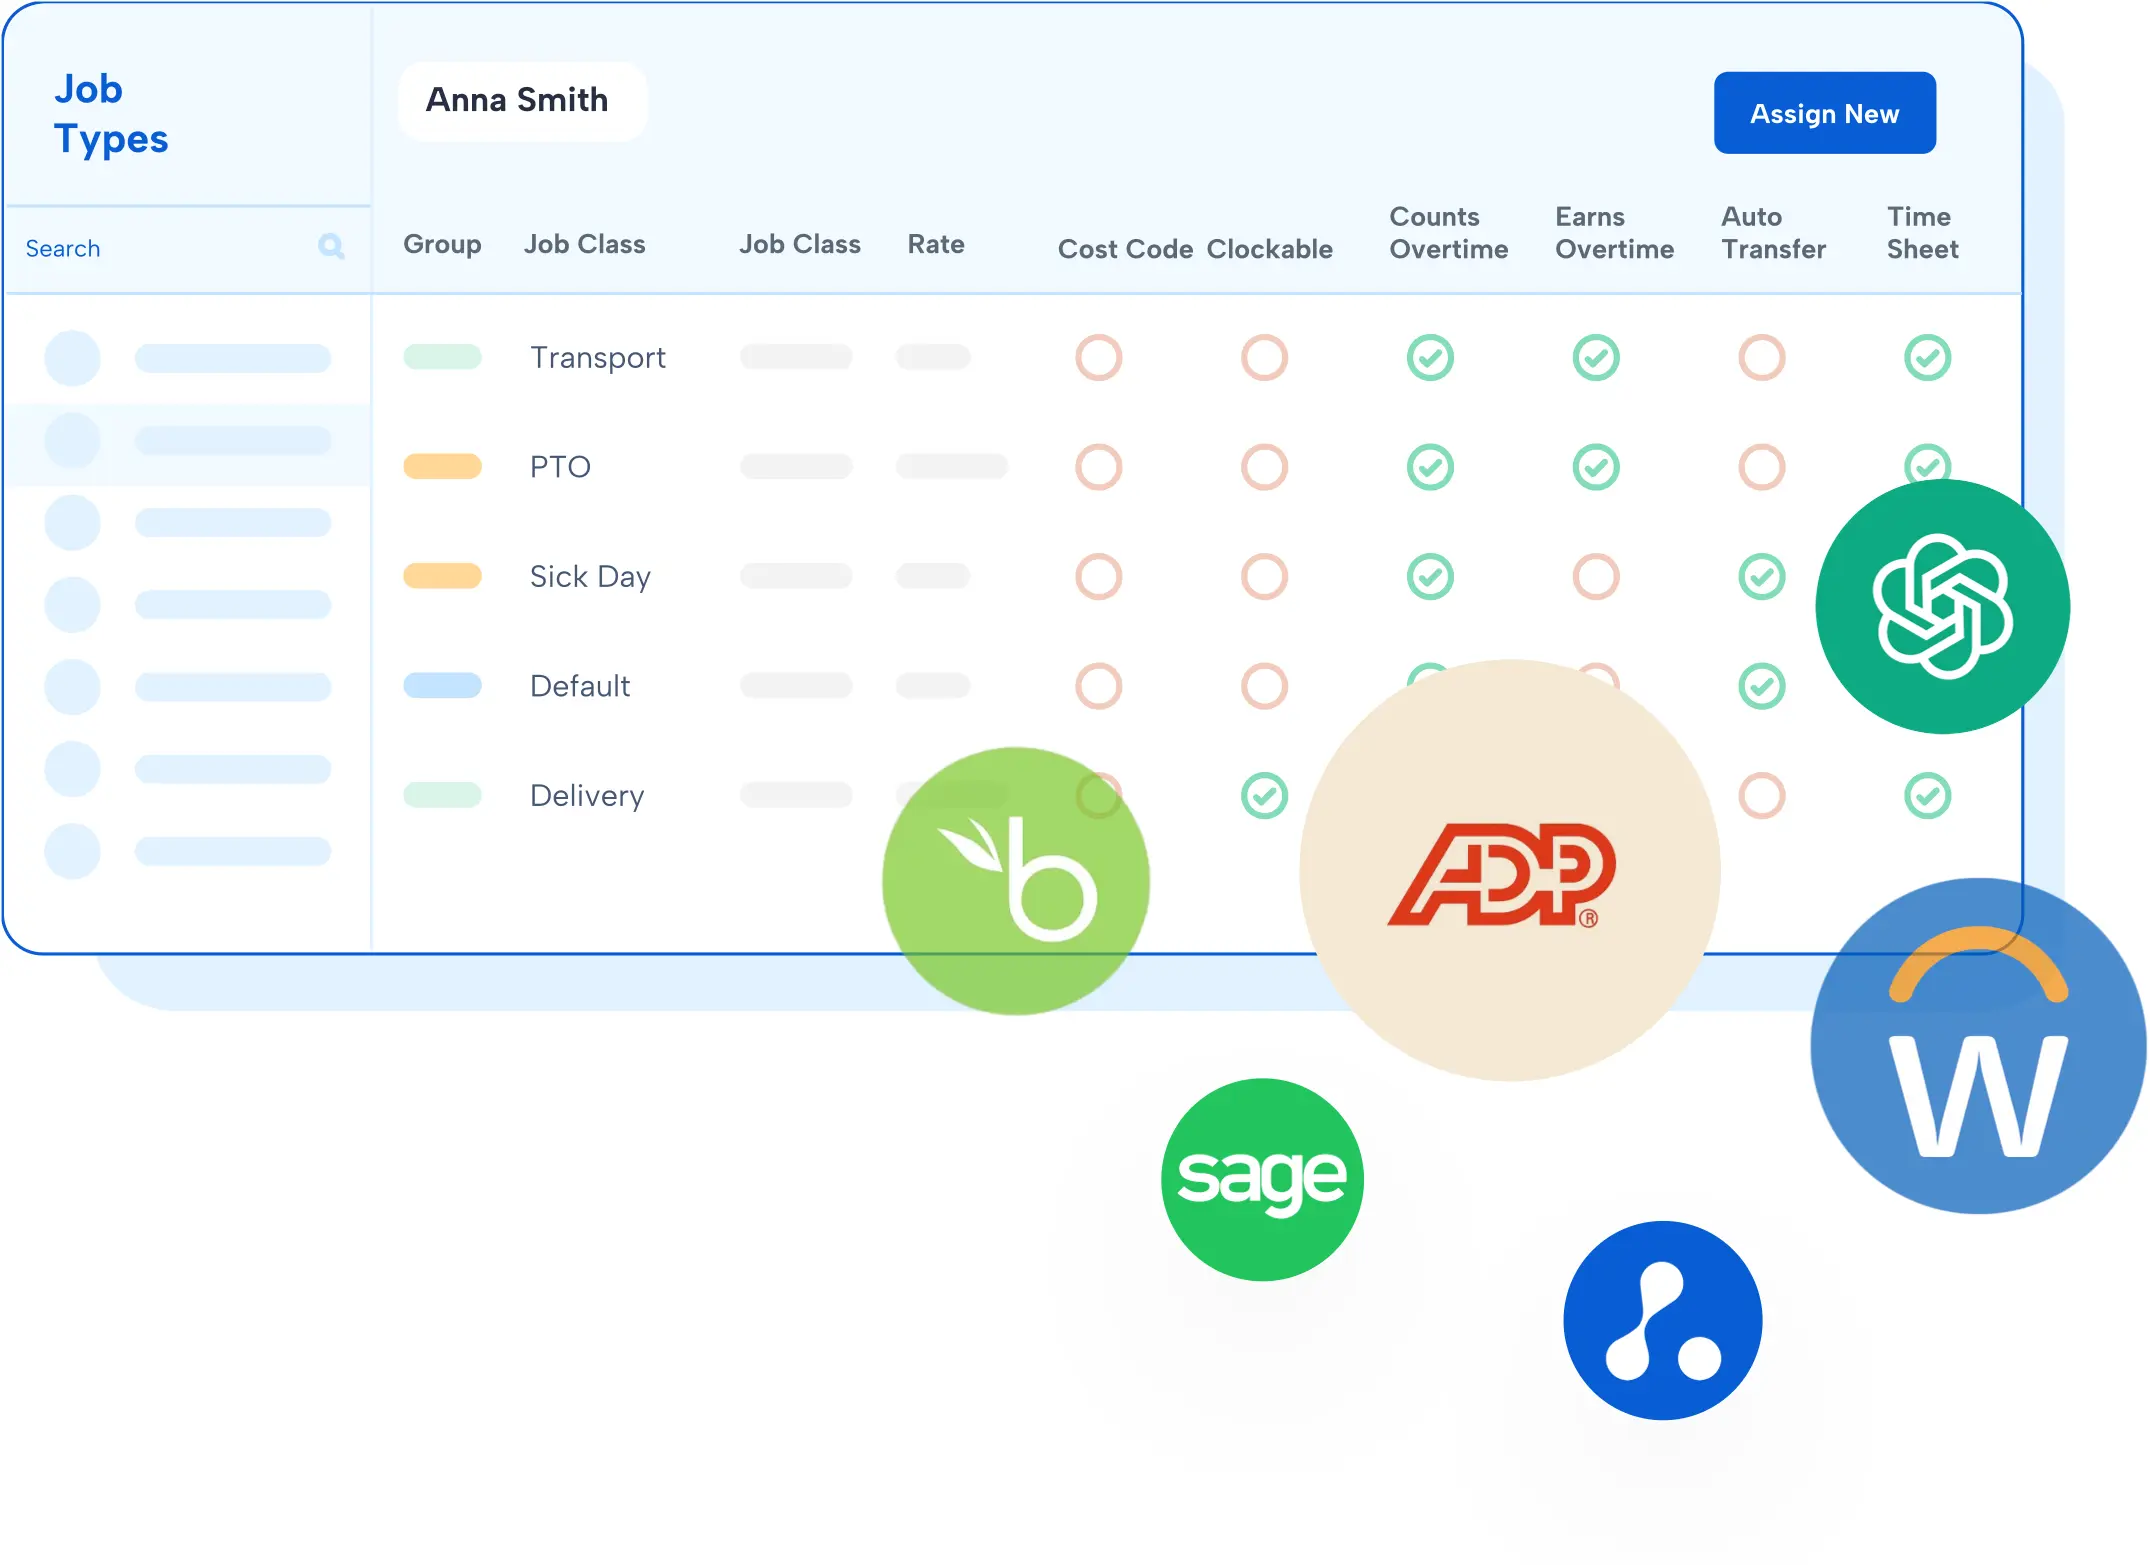
From all major payroll providers and ERP/HCM vendors to our open API, integrate your in-house and third-party systems with Humanity Schedule. Integrations include ADP, Oracle, Workday, BambooHR, Clair, and more.
Learn more about our integrations

Enterprise
IndustryMedical
Humanity helps Atrium Health Carolinas Simulation Center reduce time spent on employee shift scheduling by 50%
Read their success story
Featured resources
Explore all resources


